AWS Appstream Troubleshooting - AutoCAD 2019 FATAL ERROR
CAUSE
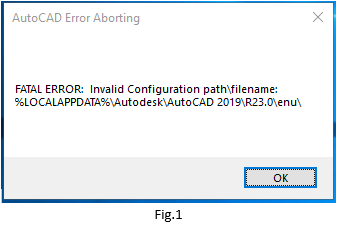
When launching AutoDesk AutoCAD 2019 a fatal error message appears, as seen in Fig.1. The error is due to the default information written in a system file when your AWS Appstream session is created.
SOLUTION
The solution listed below will prevent the fatal error from re-occurring due to the persistent software settings in AWS Appstream. Close the AutoCAD Error Aborting message to begin.
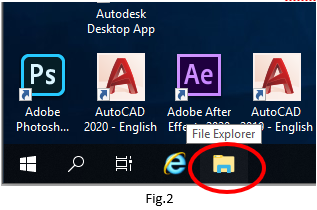
1. Launch File Explorer by selecting the folder icon on the bottom left of the AWS appstream window, as noted in Fig.2.
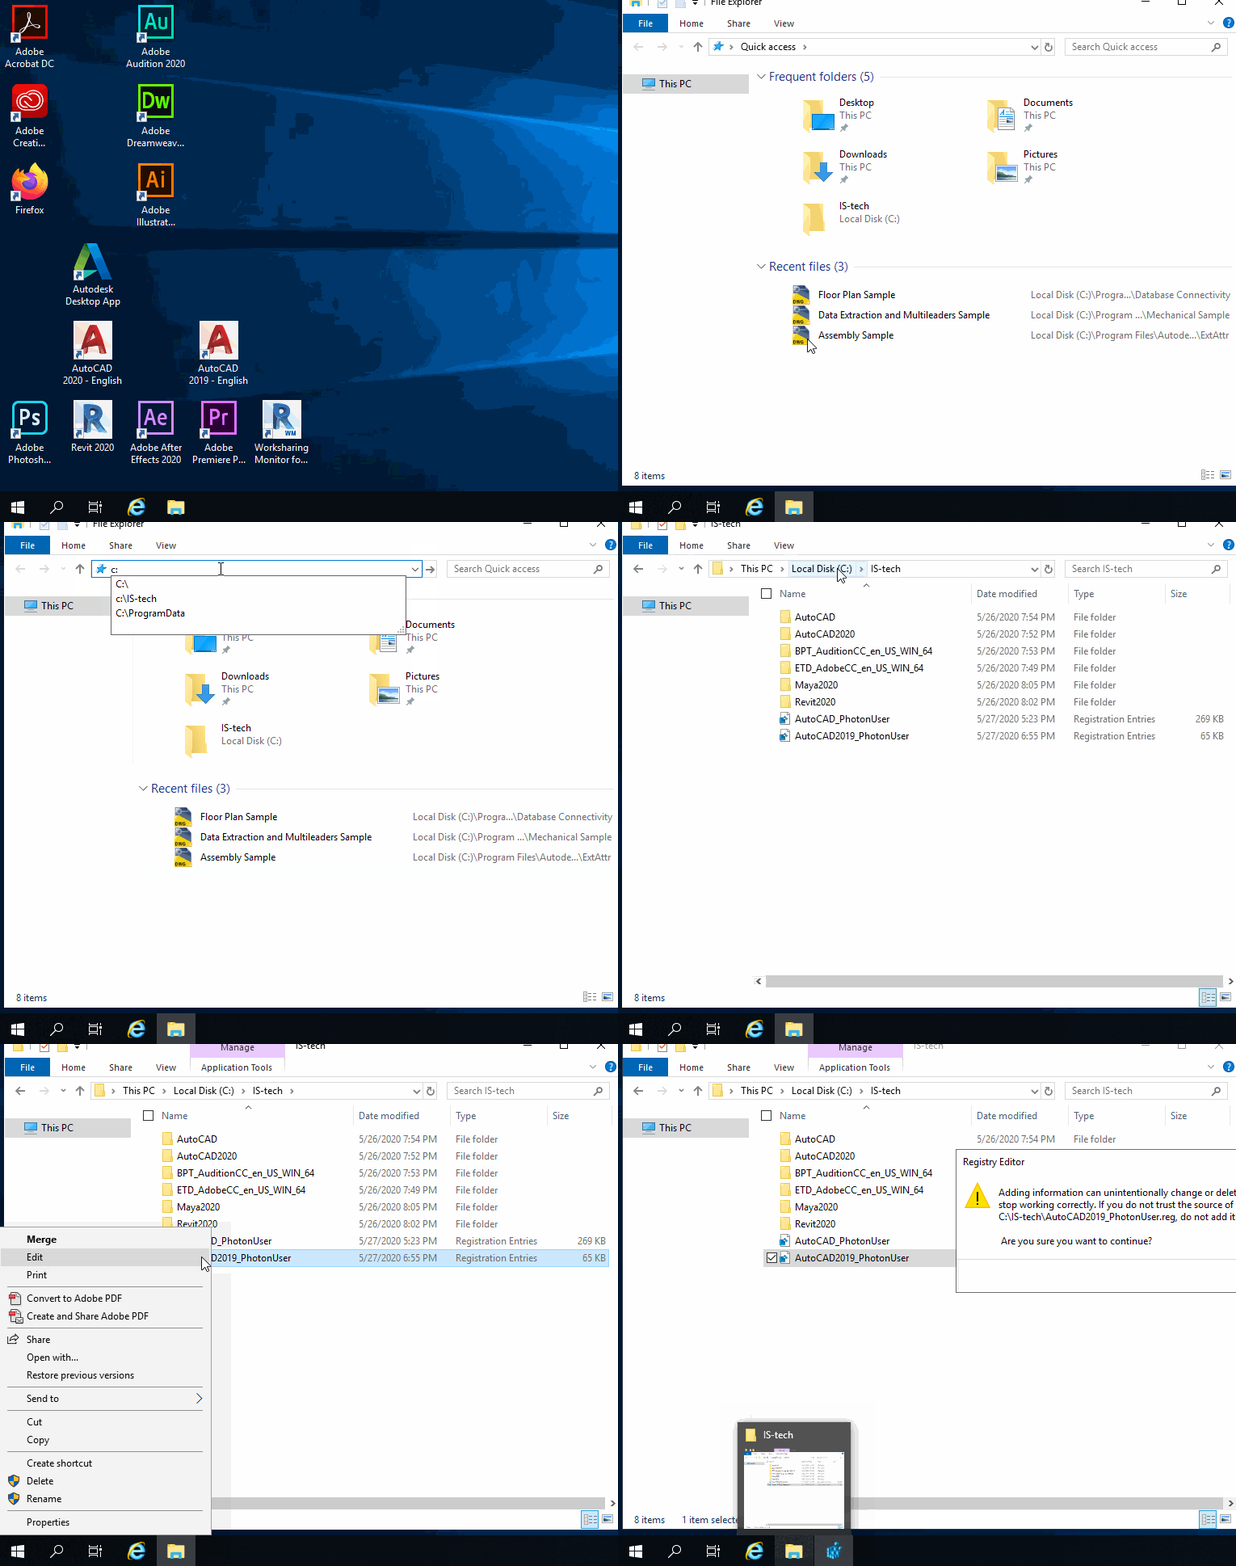
2. Click and type C:\IS-tech in the address, right-click the file name AutoCAD2019_PhotonUser so the sub-menu appears, and left-click Merge from the sub-menu to add the information to the registry, as seen in the video below.
3. Select Yes to merge the file, as noted in Fig.4.

4. Select OK to confirm the file has merged, as noted in Fig.5.

5. Click the start button and navigate down the application list to the AutoCAD 2019 – English folder and click the folder. Select Reset Settings to Default from the drop-down list, as seen below.

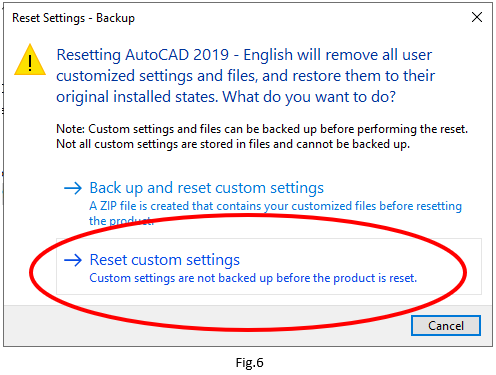
6. Select Reset custom settings to continue, as noted in Fig.6.
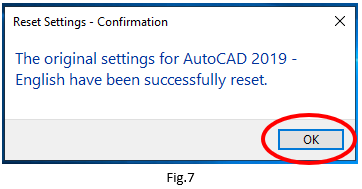
7. Select OK to proceed with the reset, as noted in Fig.7.
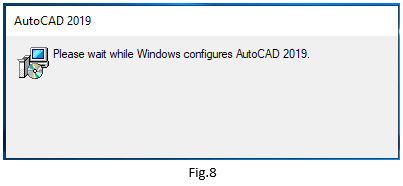
8. Wait for the reset to complete, as seen in Fig.8. Once complete you will be able to use AutoCAD 2019 in your AWS Appstream sessions.
Escalation
If you are still receiving the FATAL ERROR message when launching AutoCAD 2019, please contact ITS Support