[Students] Uploading files to Azure VM
How to upload files from your local machine to your virtual machine:
Example: You download a file from your Blackboard course, but you don't have the program needed to complete it on your personal computer. Boot up and login to your Azure VM and complete the following:
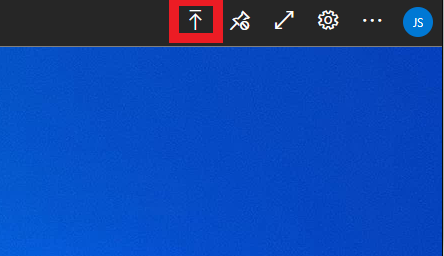
1. After you are signed into your VM, navigate to the upload button located on the top right corner of your screen
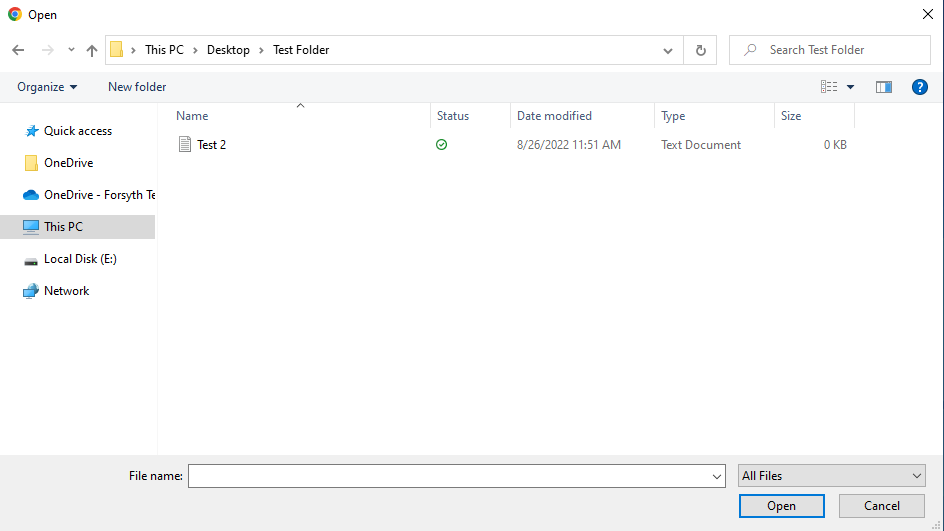
2. After clicking the upload button, a File Explorer window will open. This allows you to select files from your personal computer/Chromebook to upload and edit into the Virtual Machine. Navigate to the folder that your assignment/file is located in, select it and click "Open"
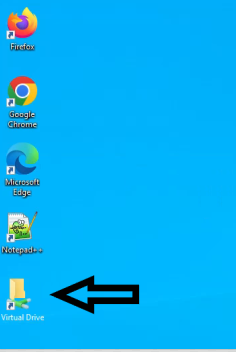
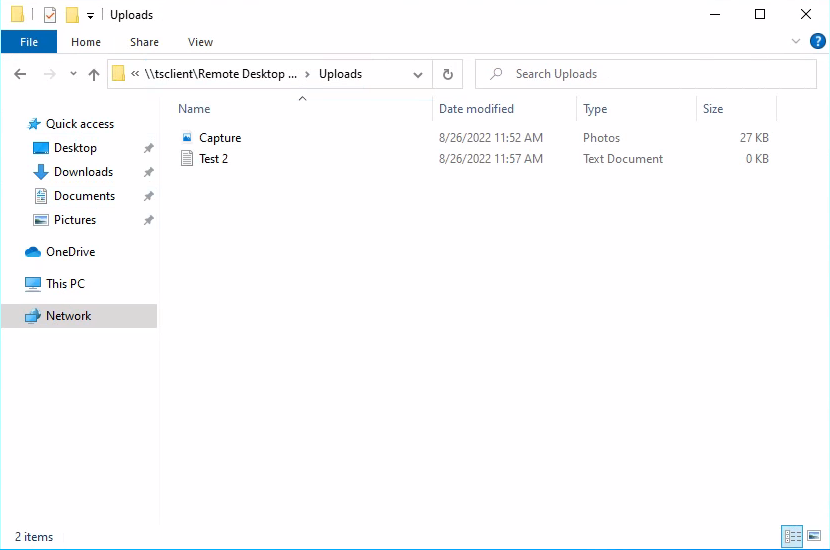
3. After you have uploaded your file to your Azure VM, navigate to the folder labeled "Virtual Drive" on the desktop
4. Select "Uploads"
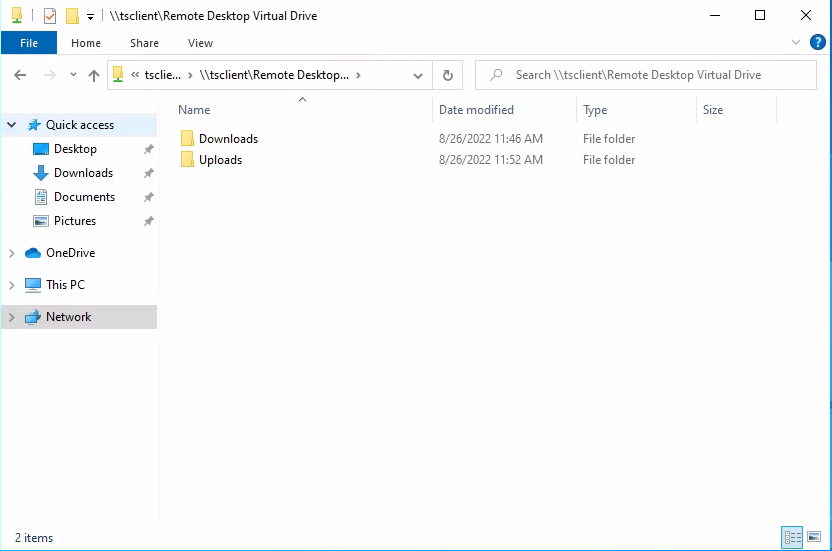
5. Once in the Uploads folder, you should see the file you uploaded from your personal computer/Chromebook, and can now open/edit the file in Azure VM.
Important - Final step:
6. You will need to either click and drag or copy & paste the files from the upload folder to the desktop of the VM before exiting your session, the upload folder is cleared after the VM is closed.